
The unique issues for wool applique using your embroidery module
Just letting you know that the second block of the free block of the month is now available on the website. There was a little glitch at the end of the month so if you tried to download the block during that time you fell through the cracks. Sorry about that and thanks for contacting me to let me know that was happening! Everyone that contacted me should have received their download by now.
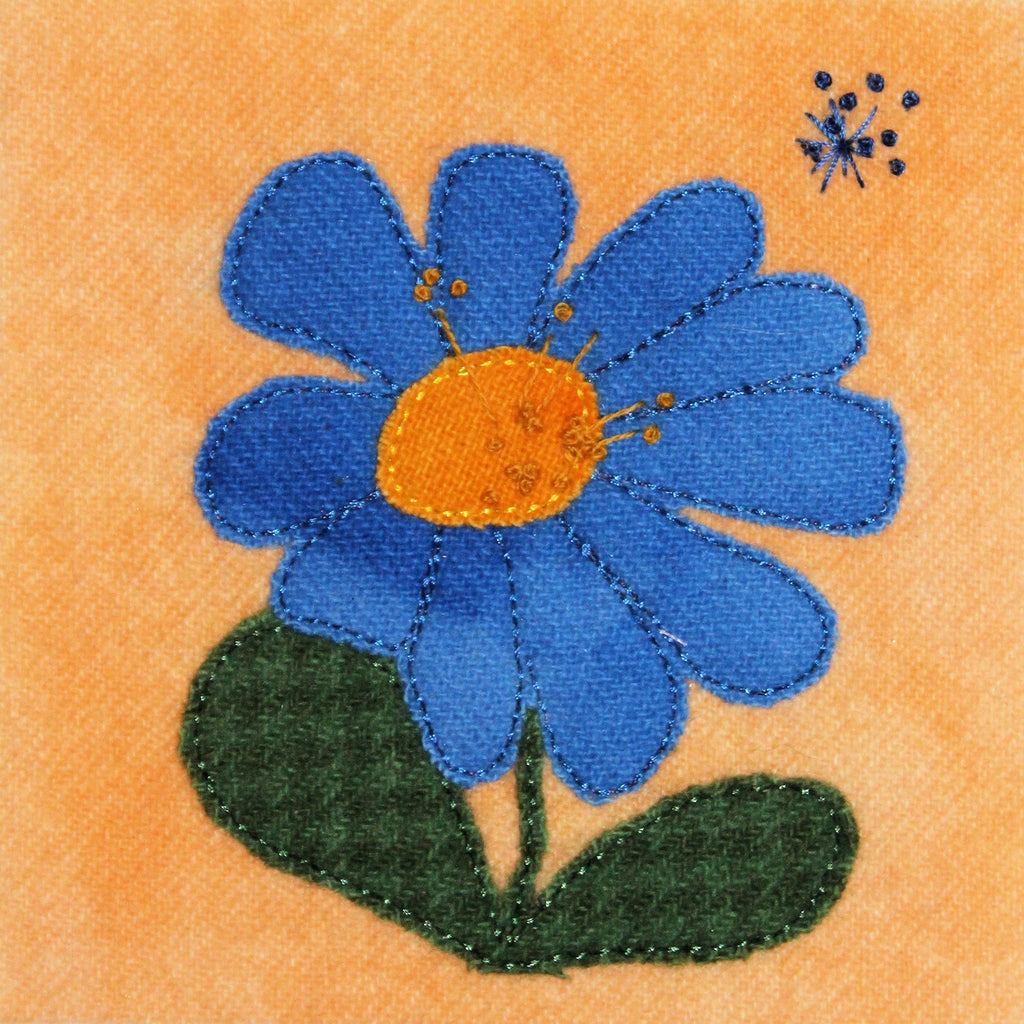
The new block is a crazy daisy.
For future reference, the blocks will be taken off the website at 9pm on the last day of the month. The new blocks will not be posted until 8am on the first day of the following month.
I'm really happy about the great response this is getting...
There was a comment/unhappy review by someone regarding the fact that he asked for a template and didn't get what he asked for.
It would probably have been helpful to tell me that he was requesting one for his cutting machine, not his embroidery module. I added a placement template on the download immediately so that if you were having difficulty centering your embroidery in your hoop you could do so. I don't really think anyone has had to use that but I'd love to hear if you needed it. If not I may as well not include it in future months...
There is a way that you can print the actual "picture" of the project you are planning on stitching out and it is true to size. However, because this is created for use with wool I don't recommend cutting the wool with your cutting machine. Even though you CAN use a product like Terial Magic to stiffen the wool and reduce the loft so that it can be cut with a scan & cut machine I have not tried doing this and do not recommend this method.
If you are stitching applique with the embroidery module and you are using cotton or another "normal" fabric (such as silk or linen) you would most likely press fusible web to the back of it so that it could be pressed in position on your base fabric, using the placement stitch to perfectly align the edges of your applique with the placement stitches. Then your embroidery module could easily stitch the piece in place.
When you are using a common fabric like this, the applique is digitized so that it stitches very close to the edge of the applique fabric, and quite often it uses a zig-zag type stitch.
Hand over-dyed felted wool is shrunk during the felting process since it is washed in hot water. That is what makes it so lovely to use for applique, whether by hand or machine. The edges do not have to be turned under or zig zag stitched to prevent fraying.
One of the drawbacks is the actual pieces can tend to "shrink" after cutting so they don't always remain the size you think you were going to be when you cut them.
So if I were to cut a leaf, for instance, to the precise size the template calls for (the actual stitching lines) and placed it in the hoop over the placement lines, when the machine stitched around the wool it may or may not catch all of the edges of the wool. You may get lucky and it sews as perfectly as it would for cotton.
I'm never that lucky.
Most people I know are not that lucky on a consistent basis.
Because hand over-dyed wool is expensive I just thought it would be a good idea for you to follow the directions I included with the pattern. That way I would not get a lot of irate and angry emails and letters and reviews telling me why it didn't work for them. If you choose to try using your cutting machine to create these little flowers that is, of course, up to you. But there is a reason why I wrote the instructions for you and include them each month with your download.
This is a different method than you are used to if you have been doing applique by machine. Please try my method before you get yourself all tied up in knots or ruin some perfectly good wool. If you absolutely cannot stand this method, by all means use the free pattern included with the free download and create it either by hand or manually sew it with your machine. I know a lot of people that manually sew a blanket stitch around wool, or whatever fabric they choose do to their applique in.
If you are planning on using the digitized design provided for you and you are planning on using cotton, I recommend printing out the design on paper and using that to scan into your cutting machine. That way you know it will be the correct size.
BE AWARE that the free pattern included in your monthly download as an option is not an exact match in size to the digitized embroidery. The digitized embroidery is slightly reduced in size to fit in the small size hoops. I wanted this to be eligible for everyone to use, even if you did not have a high end machine that offered the option of using a wide assortment of hoop sizes.
I hope this clears up any misunderstanding about what you have and why. I will see about putting instructions on a future post so that you can see how to print out the line drawing of the pattern in the event that you don't know how to do that. I'm going to consult with my guru first so I don't lead you astray.
Cheers and I hope you are enjoying these little wonky flowers.
Monica
Need to rank your website? Get some free backlinks here: http://abi18.eu/16 We use a natural link building strategy to build awesome in-content backlinks. Our massive team of copywriters create original, semantically relevant content around your subject matter. We then post that content around the web to make your website go viral in the eyes of Google. Start your free trial today: http://likes.avanimisra.com/4p1o Unsubscribe: https://bwlink.io/39imp